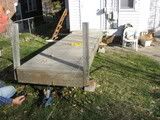
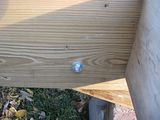
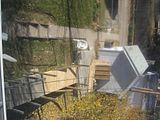
Our ramp consists of about half of it being a pre-built part we purchased that had 2x10 support beams and the other half we would build using 2x8's which the city O.K.d. Our initial plans, as you can see in our drawings, was to put the pre-built section at the cement slab and then we'd build the rest up to the house with the thought it would be easier to make the transition from ramp to house flush and using 2x8's support boards would make the one and only outside faucet more accessible. But we had a change of plans for a couple of reasons. First, having the 2x10 pre-built against the cement slab would leave little or no room to secure bolts. Secondly, even though my brother put wheels on the pre-built section, we realized it would be much easier to move it down the hill toward the house instead of up the hill toward the cement slab.
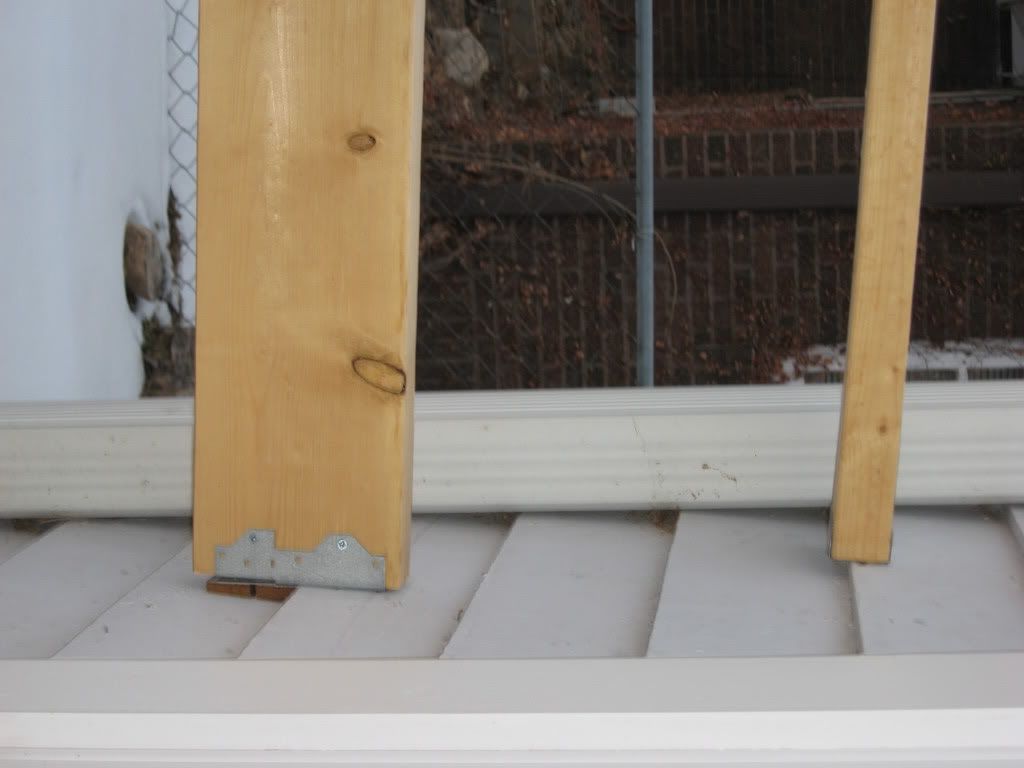
So the first step was to determine where to put the hangers that the 2x10s would set in against the house. Of course we wanted a
smooth transition from the door to the ramp so getting it as close as we could was key. Simple math. The vertical 2x10 would have horizontal 2x6's on top. (Anyone see a problem with our calculations? Well there was a problem which I will get into later. Suspense and all, LOL)
After rolling the ramp as close as we could to the house we had to hoist the ramp up so the vertical 2x10s would slide in the hangers. Since my brother and I were alone working on this project our solution was to use a jack on one side and then stack misc. bricks, boards or whatever to build up support for that side, then move to the other side, jack and stack and back and forth until we had it at the right height. It worked great! Then it was just a matter of giving the ramp a little heave-ho toward the house so it slid into the hangers. This was a LOT easier said than done. Those hangers give no room for error at all. The ends of the 2x10's's kept snagging one side or the other of the hangers but with prodding and pushing we finally got them in. Nailed and screwed the 2x10's in place. So my big tip of the day is to be as precise as possible when placing the hangers, only secure one side to the wall and don't be afraid to bend the hangers out. Next we made sure the ramp was level from side to side.

More to come....
Finally am getting around to finishing this and I'm inserting it here so if the flow of posts seem odd that is why.
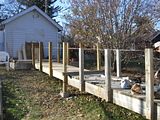
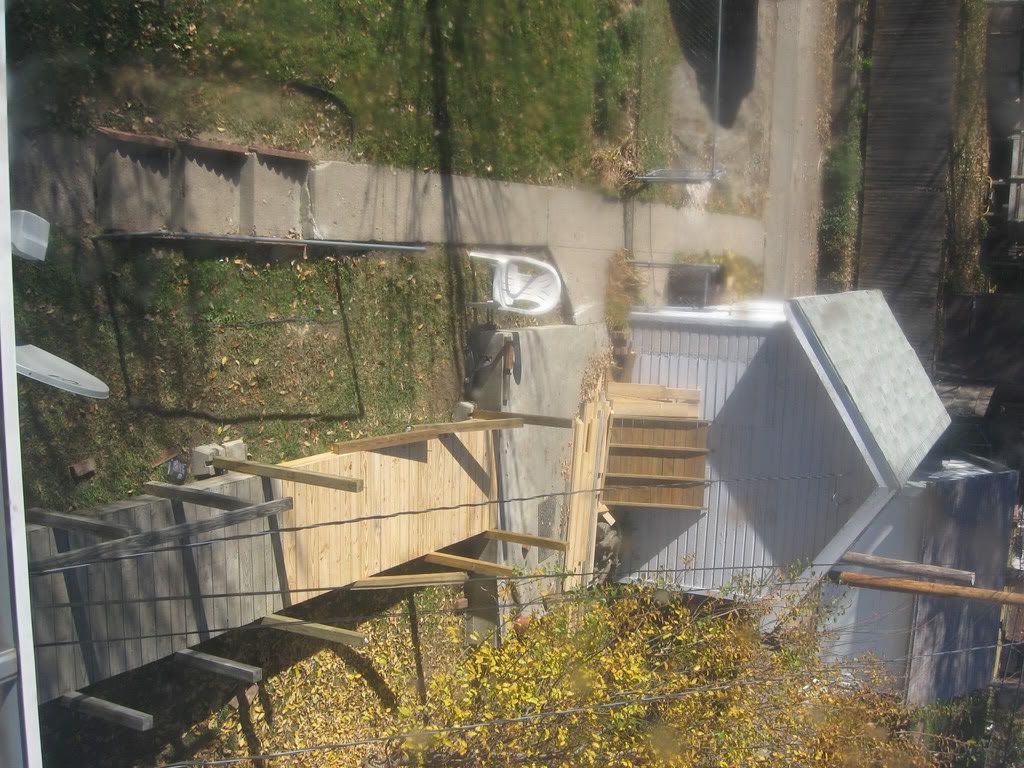
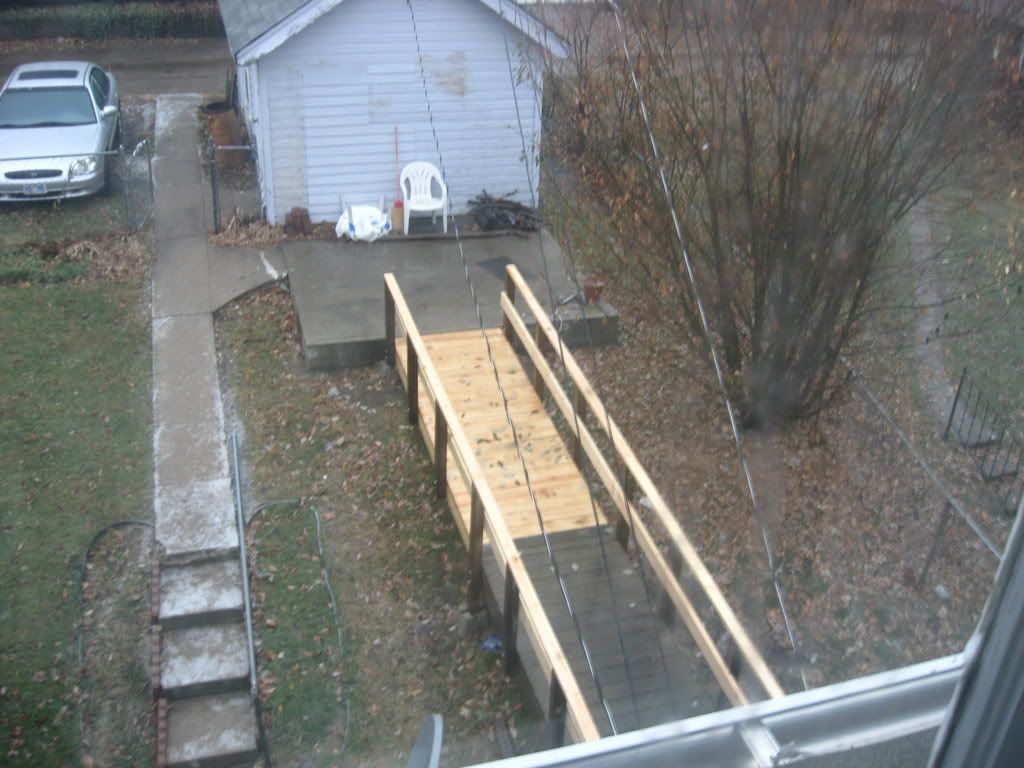
As you can see in the picture (above) we tied a string from the door to the cement slab so we'd have an idea how high to jack up the pre-built ramp.
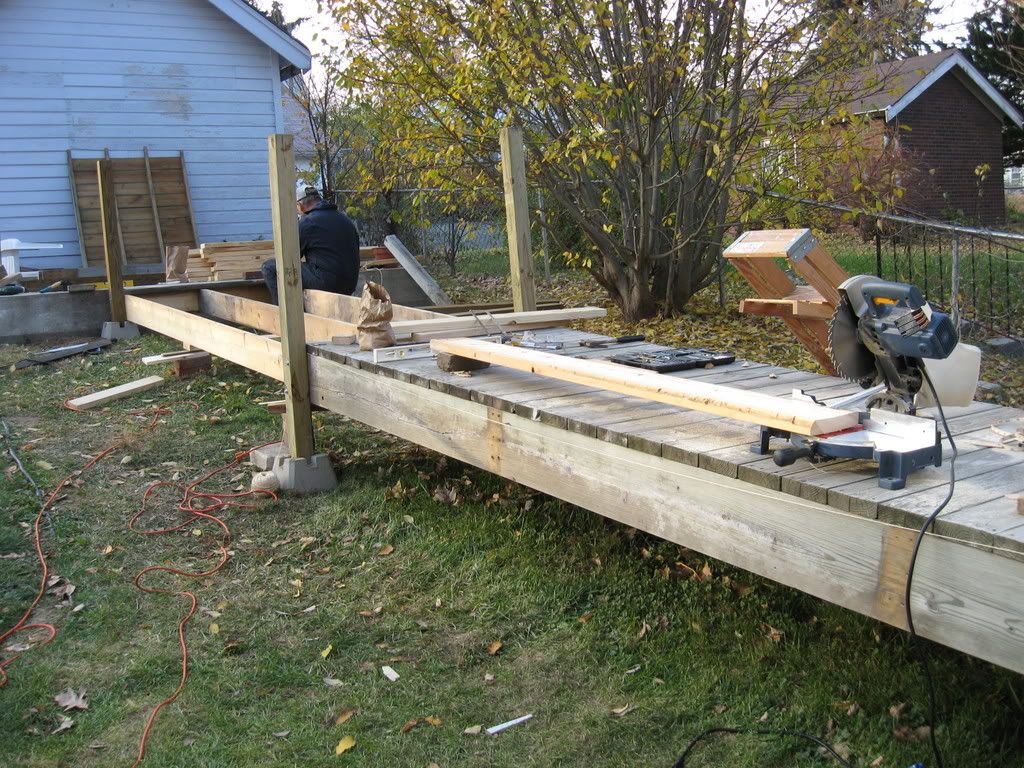
We built the frame of the ramp off-site, meaning we used the cement slab to put it together and then move it into place.
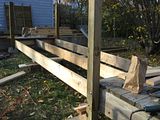

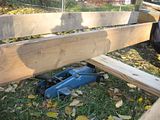
We again utilized the two jacks we had to jack it up so we could connect it to the pre-built.
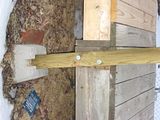
The next two shots are of the bolts holding the two structures together.
Next we set in the pyramids by leveling the ground using a flat shovel careful not to remove more dirt than needed. This took a bit of time as we had to make sure we were keeping everything level.

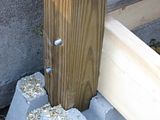
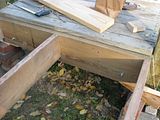
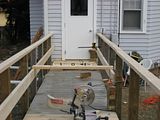
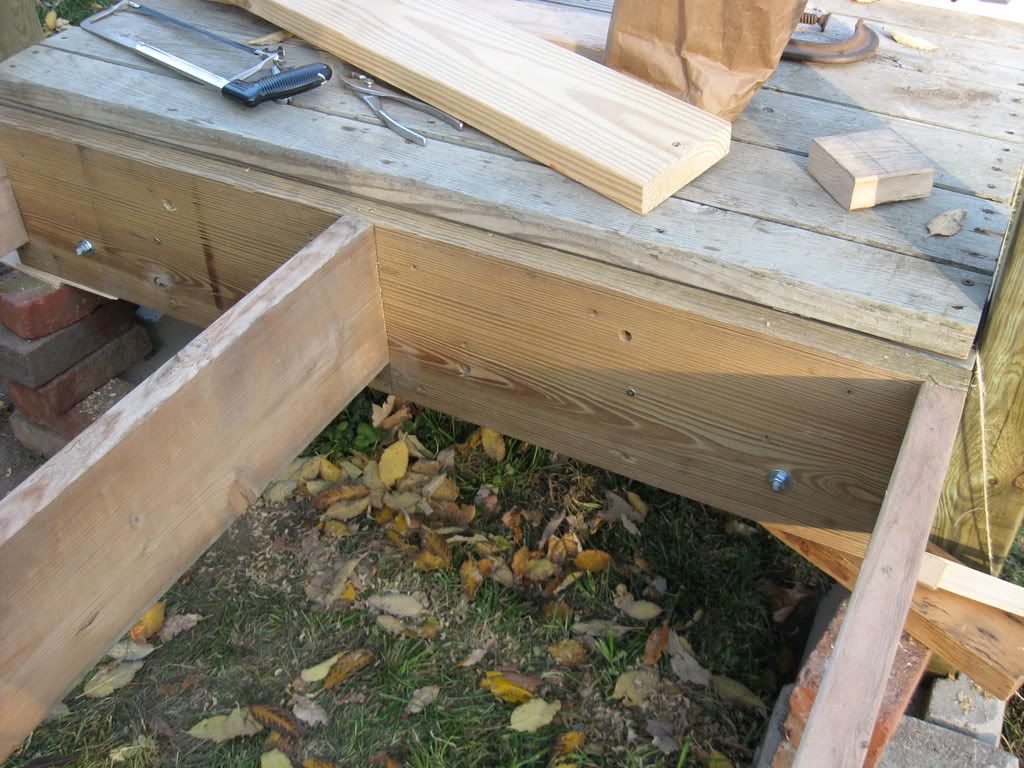
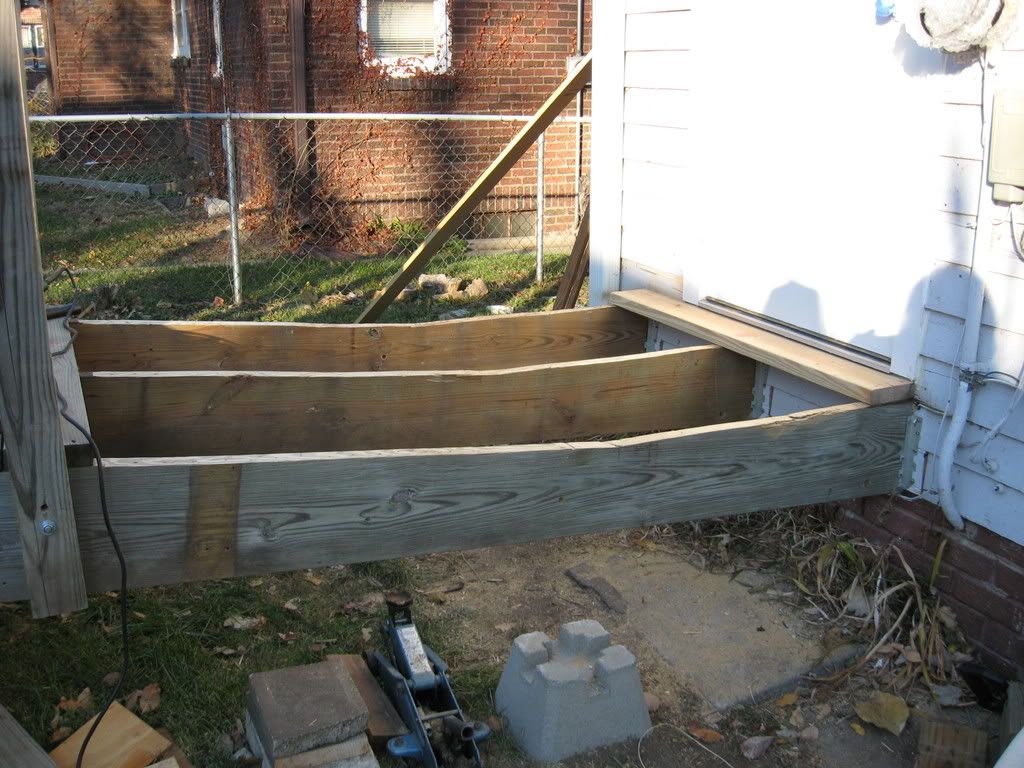
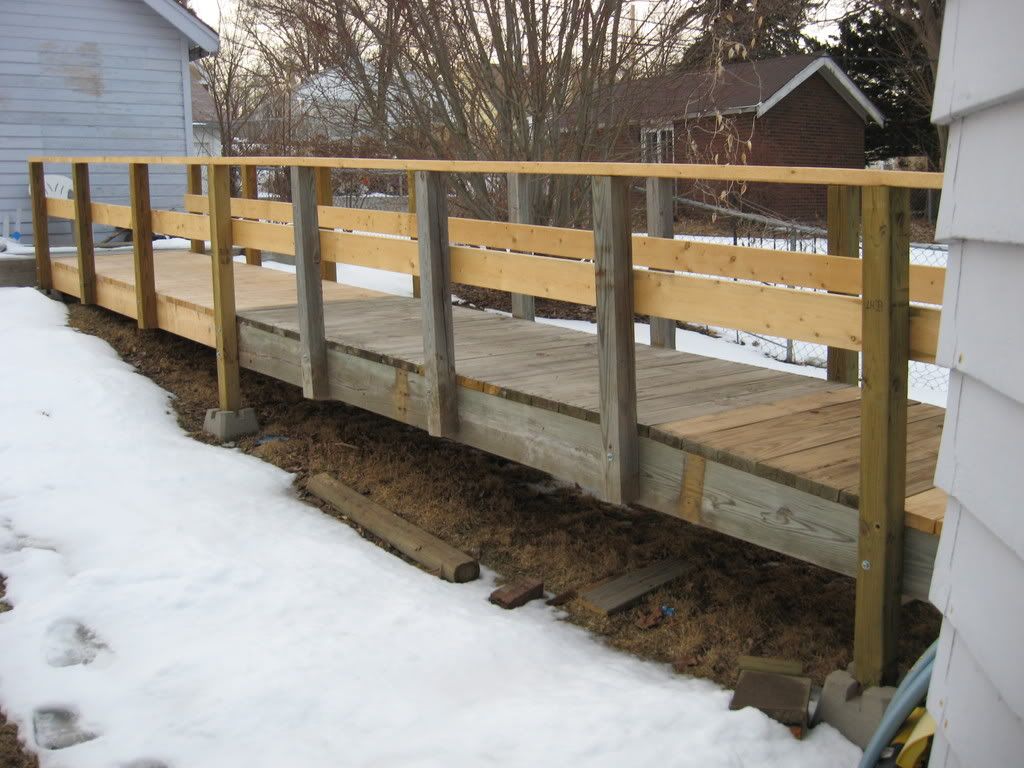
Here is the frame butting up to the cement. Well actually we made sure it didn't butt up completely to allow water to drain between the cement and the header board. The posts were bolted in with two bolts you can see in the picture. Also note: Normally you would have the bolt end on the inside but we were in a hurry. My brother had to get back home (5 hr drive) so we opted for the easy way.
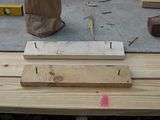
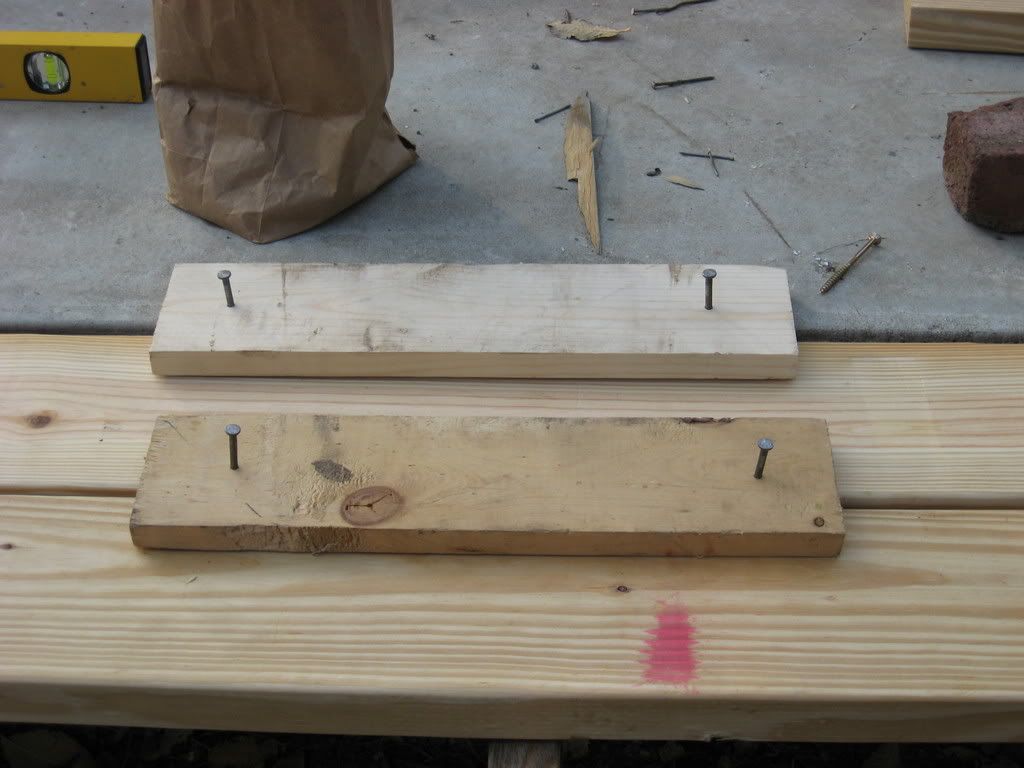
Next we started laying down the decking. You need to leave a gap and a handy way to do this is by pounding two 16 penny common nails into a nice flat 2x4. See how to here:
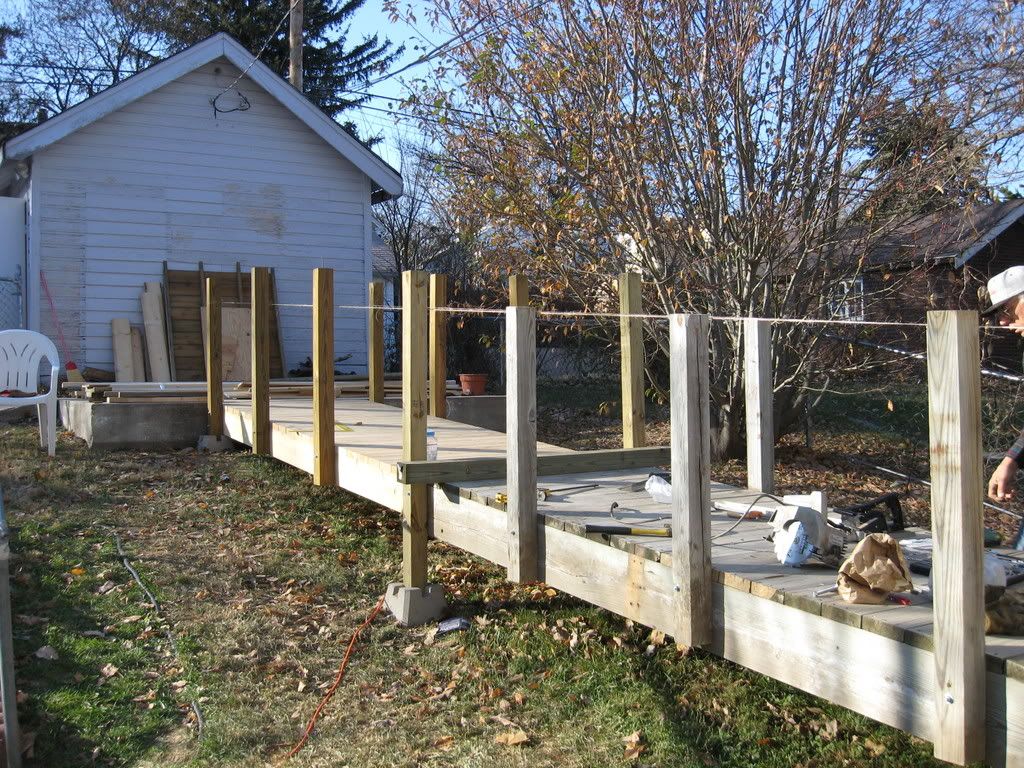
shacktoshowcase.proboards98.com/index.cgi?board=dyk&action=display&thread=85We started putting in the non-supporting posts. We used clamps to hold them in place while we pre-drilled and put in one bolt for the time being so we could level them.
Here we have them all in and now need to level them, clamp them and drill the 2nd hole for the bolt.
Here again we used our handy dandy string to mark where the posts should be cut off. Each post would need a slight slope for the top rail.
It was at this point we realized our simple mathematics didn't work out so well. With the slope of the ramp going uphill away from the house we discovered the door would not swing open all the way because of the rise of the ramp.

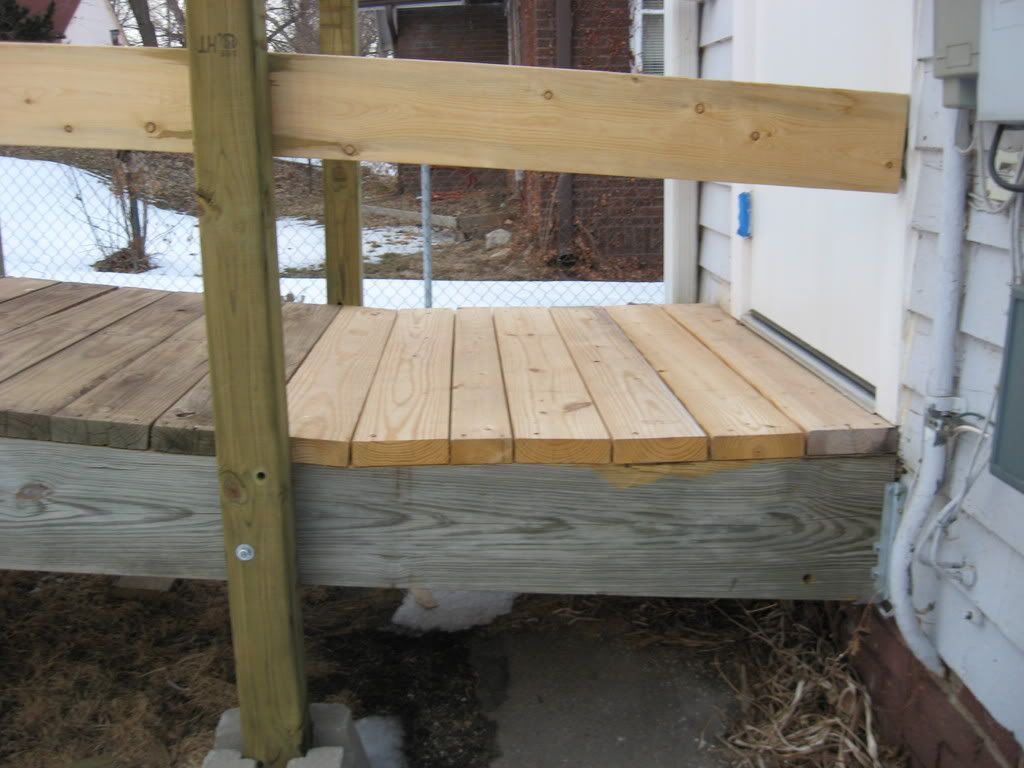
Our solution: Remove the decking, cut a level area into the 2x10's and put the decking back.

As you can see here it worked fine but may be rather unorthodoxed way of doing it.
After this point I was on my own to finish up. I still had to put the railings in and put that 3rd screw in each deck board that we had skipped doing due to my brothers limited time.
One of the things you may run across are twisted boards. We did pick out very straight boards but as they were left out in the elements for a bit they twisted. I had this problem on one length of board that layed across the top posts. It was so warped I couldn't screw it down no matter what. My solution was to wait until I got the wheelchair safe-guard railing in. Use a clamp from that railing to the top of the upper railing and clamp it down. Worked like a charm!
You can see on the right side of the picture (below) where I have two boards meeting in the midde of the ramp that the one side was twisted until after I was able to clamp. So my second tip is don't be afraid to force warped or twisted boards into place. It would be very rare that they would crack or break.
Here I'm making sure things are level.
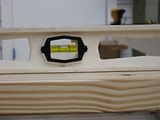
See...nice and level.


Here are the clamps for the railing. (I'm still not sure how the experts do it when you have siding that isn't flat but we used wedges to fill in the gap)

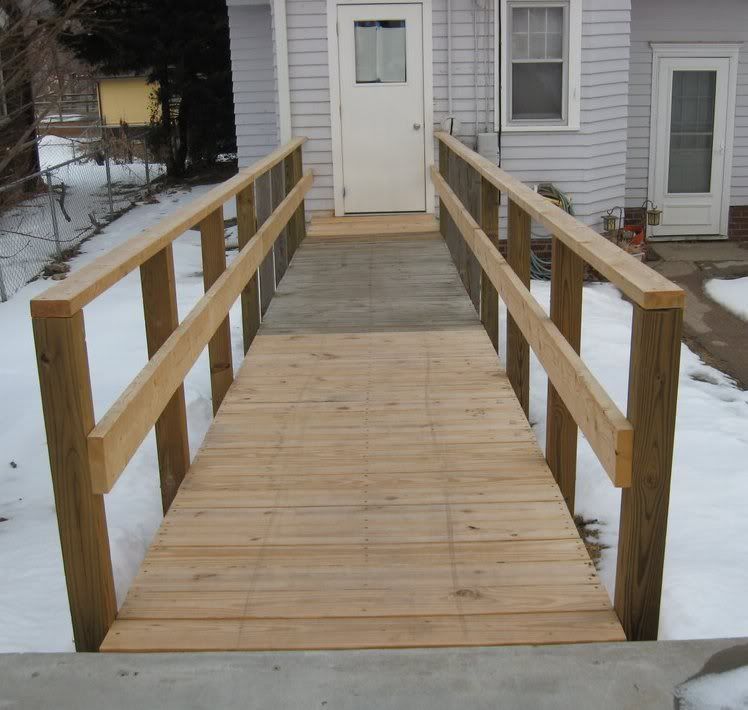
And I'm all done!
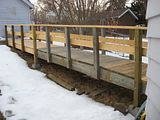

The last step is to find an agent that will age the new wood so it won't look so odd. This Spring I hope to be doing that!
BEFORE YOU GO. If you found this to be helpful or at least interesting I'd appreciate you tell a friend about this site. And don't forget to bookmark it. You never know when you may have something you'd like to share or when you may have a question.
I still need to edit this so please don't point out any spelling errors and missing punctuation.
Sorry folks, am currently working on replacing Photobucket images but here are the photos rehosted elsewhere. Gee thanks Photobucket for pulling a fast one on all users.


 Way to go Gurl ! That looks like it was a Lot of Work